
A lot of us have been d.i.y’ing more than usual over the last 12 months due to quarantine and trying to stay safe at home. From at home facials to gel manicures, us ladies have taken our beauty routines and self-care maintenance to the next level.
One part of your routine that you may have been neglecting is your hair removal. As someone who used to go to the day spa for waxing appointments religiously, waxing was one of the first things that I began to miss during quarantine. As much as I missed my once hairless body parts, I was terrified of waxing at home. At one point, I actually went to Ulta and bought pre-waxed strips only to chicken out and return them. That is when I started to do some research and learned about something call sugar waxing.
So what is sugar waxing?
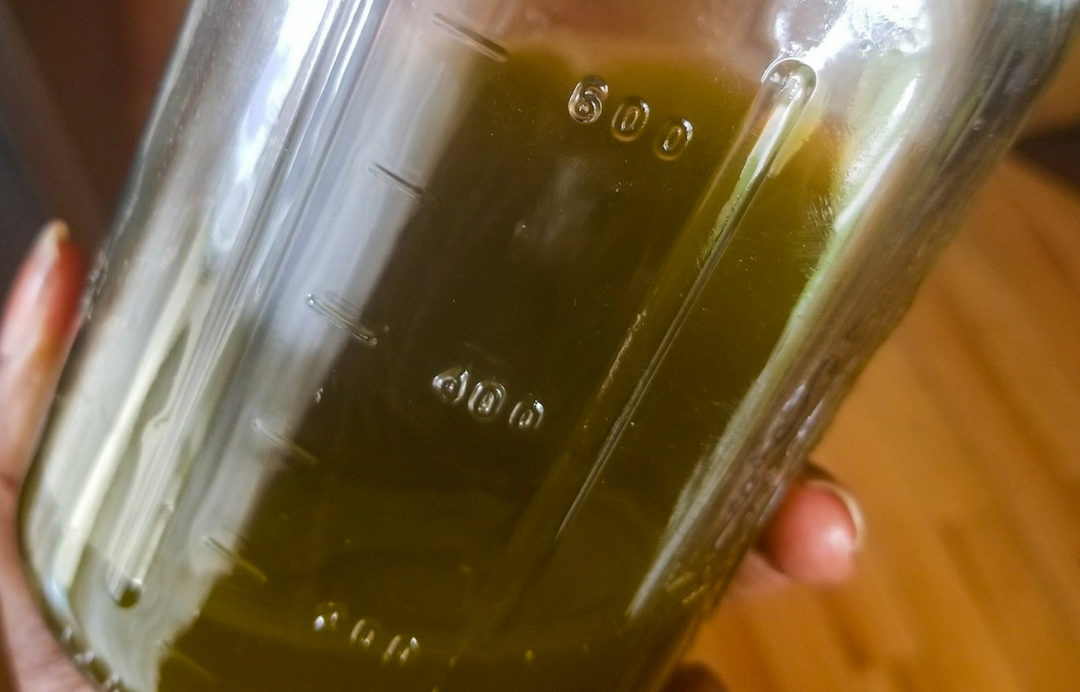
Sugar waxing is exactly what it sounds like. It is the process of creating a waxing agent by cooking sugar, water, and lemon (and sometimes other ingredients) together to create a simple syrup. That simple syrup is then cooled and applied to the skin, and used to remove hair from the root.
Eventually I saw a video from Youtuber I had been following for a while, abetweene, where she detailed how she makes, and uses, her sugar wax at home.
abetweene’s Sugar Wax Recipe:
1/2 cup sugar
2tbsp lemon juice
2tbsp water
This was right up my alley.
This sugar wax recipe used all natural ingredients that I already had in my kitchen, making it cost effective and less wasteful if I decided to chicken out again.
In the end, I made Ariane’s recipe and it was great! It was simple enough for someone whose never made it, and yields consistent results. After using both the hot and cold wax methods, I’ve learned a few things that have been instrumental in making sure I get the most cost effective, less painful, and cleanest wax results.
So without further ado:
5 Tips for Sugar Waxing at Home
Disclaimer: I am not a professional esthetician or hair removal specialist. All of the below tips are to be taken as non-professional opinions and not professional advice. Please contact a professional for any expertise.
1.Do Research to Assess What You Really Need
So, when I first decided to give at home waxing a shot, I went out and bought the supplies that I thought I needed, only to be too afraid to use them. Luckily, I returned the items that I had bought and got a refund. However there have been many other instances where I did not and simply wasted my money.
I’ve found that it’s best that you do some research ahead of your shopping (and maybe asking your professional waxer a few questions, if possible) to be able to truly assess what you need. For me, I like to be as natural as possible, whenever possible, so I went searching for sugar wax recipes. I also researched the difference and the pros and cons of hot vs. cold waxing, so that I could know exactly what I did and did not need. I decided to give cold wax a shot, so that meant that I didn’t need anything other than the ingredients to make the sugar wax.
Once I decided to get into hot waxing, then I know that I needed a few more waxing materials. Because I knew I would only be waxing small areas (underarms, brows, etc.) I knew a wax warmer would be nice, but not a necessity to start. I also had learned that I didn’t need to go out and buy fancy wax strips, and instead to the more eco-friendly route of cutting up 100% cotton t-shirts, and using left over muslin cloth from a previous project. Because I had all of the knowledge upfront, when it came time to buy the materials I knew exactly what I did and didn’t need.
2.A Clean, Dry Surface is A MUST!
This step is crucial to getting the cleanest wax. You want to make sure that the area is clean and free of any products, such as lotion or deodorant, or any possible bacteria. For me, I like to shower prior to waxing any part of my body. However, if you’ve just showered and later decided to wax, I would use an alcohol wipe to clean and disinfect the area. Before applying any wax, you want to also make sure that the area is dry. To ensure this abetweene, and many other professional waxers, will use a powder (either baby powder which I absolutely do not recommend near your yoni, or arrowroot powder) to soak up any moisture that is on the surface of the skin. By making sure that the area is clean and dry, you will reduce your chances of infection and remove the most hair in one pull, making it a less painful experience.

3.Always Test/Cool Your Hot Wax
This is a no-brainer, but I’ve made this mistake one too many times to not mention it. When choosing to use hot wax, it is crucial to blow the wax, and test it for the temperature of the wax. This was difficult for me when I began hot waxing again, because I didn’t have a wax warmer to control the temperature. While I’m not saying that you absolutely have to have a wax warmer, but the temperature of the wax is very important to monitor and control as you can cause serious damage and burns from not doing so.
An important visual to protect you from burning myself that I like to use is to remember that the more liquid an syrup-like the sugar wax is, the hotter it may be. On the flipside the thicker and more viscous the sugar wax is, the cooler it may be. Once the wax is cool enough to stick to the application stick, then I that point I always make sure to still blow it a bit to ensure that it is cool enough to not burn the skin.
4.Apply the Wax Against the Hair Growth, but Pull with the Hair Growth
This is a tip that I learned from abetweene and it has been instrumental in ensuring that I get the cleanest wax results with the least amount of pain. By applying the wax against the natural hair growth direction, you get better wax coverage over the entire strand and all the way down to the base/root of the hair. Because the wax is applied in the opposite direction of the hair growth, you can pull the wax in the direction that the hair naturally grows. Being able to pull the hair our in the direction of natural growth makes the hair more easily removed, thus resulting in less pain.
5.Hold the Skin Taut When Applying and Removing the Wax
This was something that I learned on accident, but it has been a gamechanger none the less. By making sure the skin is taut, I’m always left with the cleanest wax results. Its a rule of thumb to make sure that you hold the skin taut when removing the wax/hair. The gamechanger for me is to also hold the skin taut while applying the wax! This allows you to once again thoroughly cover the area you are waxing all the way down to the base, and remove all of the hair in one pull. If you were to only get wax on the tips or top portion of the hair, and not all the way down to the base, when you remove the wax you would simply be pulling the hair but not necessarily removing it. This is would be much more painful, and less effective… I wouldn’t wish that on my worst enemy.
Conclusion:
Sugar waxing is a great way to start your at-home waxing journey. It is all-natural, (relatively) safe, and cost effective. With these tips, I always getting the cleanest and least painful sugar wax results.
Have you ever tried sugar waxing? What tips to you have for this at-home removal technique?